Alarm Guide: First Time Setup
Download App
1 In the App Store or Google Play, search for “Smart life - Smart Living”. You can also scan one of the QR codes here.

How to setup your Guardian 2
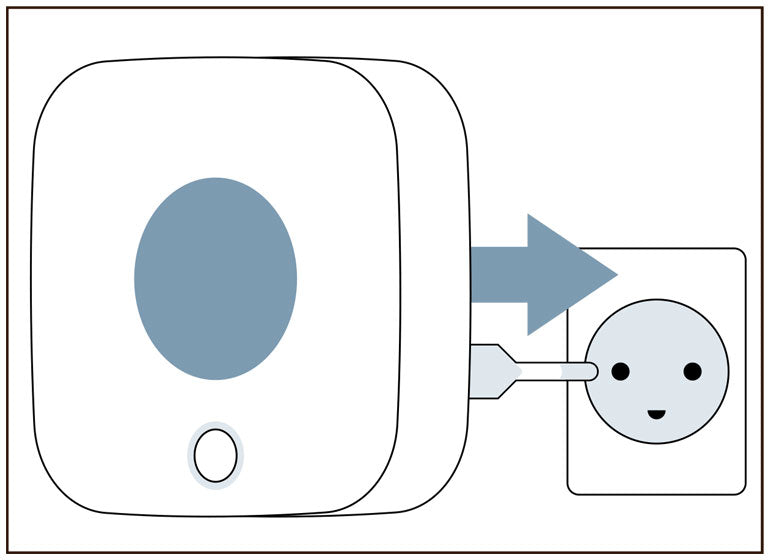
1 Plug your NEXSMART GUARDIAN 2 GATEWAY into a Power Outlet.

2 Press and hold the middle button with the WiFi (Three stripes and a dot) icon on it for 3-5 seconds. After 3-5 seconds the GUARDIAN 2 will play a short tone and the LED light ring will light up indicating that you have initiated the pairing mode.

3 Connect your phone to your Wi-Fi (2.4GHz).
4 Open the SmartLife app.

5 Click “+” in the upper right corner.

6 Press "ADD DEVICE"

7 In the column on the left, select “SENSORS” and then Alarm (WiFi)
8 Enter your Wi-Fi password and click “Next”. The password must not contain special characters.
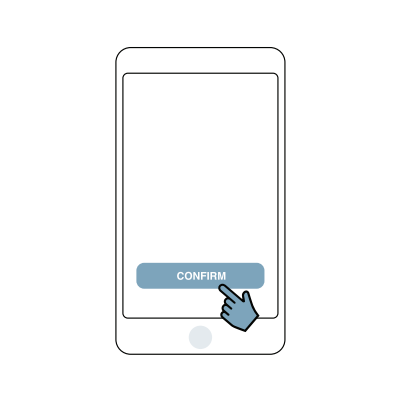
9 Check “Confirm the indicator is rapidly blinking” and click “Next” to connect to the network.


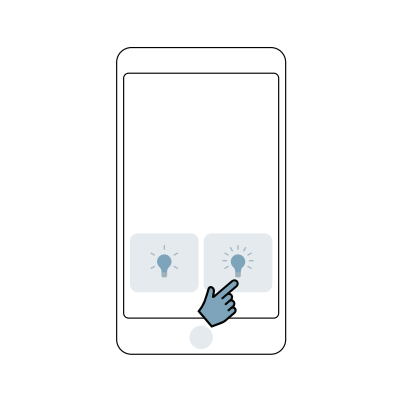
10 When your new GUARDIAN 2 appears on the screen, press the small "+" next to the sensor.
11 Success!

How to pair Door/Window Sensor
1 Click “Accessories”.

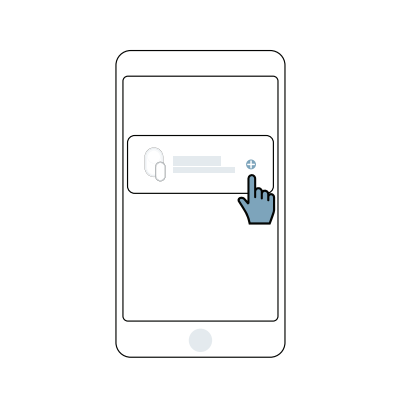
2 Click on "+" in the right corner.


3 Remove the Plastic strip from the sensor.

4 Activate the selected sensor.

5 Then there will be two short beep sounds that indicate that your sensor is paired correctly with GUARDIAN 2.
6 Success!

How to pair Small Motion Sensor
1 Click “Accessories”.
2 Click on "+" in the right corner.
3 Use a "Pin-Tool" to set the SMALL MOTION DETECTOR to the correct settings, which are "ON and TEST"

4 Activate the selected sensor.

5 Then there will be two short beep sounds that indicate that your sensor is paired correctly with GUARDIAN 2.
6 Success!
How to pair Large Motion Sensor
1 Click “Accessories”.
2 Click on "+" in the right corner.
3 Use a "Pin-Tool" to set the SMALL MOTION DETECTOR to the correct settings, which are "ON" (By pushing the split up).
4 Activate the selected sensor.

5 Then there will be two short beep sounds that indicate that your sensor is paired correctly with GUARDIAN 2.
6 Success!
How to pair Remote Control
1 Click “Accessories”.
2 Click on "+" in the right corner.
3 Activate the selected sensor.

4 Then there will be two short beep sounds that indicate that your sensor is paired correctly with GUARDIAN 2.
5 Success!
How to pair Indoor Siren
1 Turn the SIREN on, by sliding the pin to the side which has “ON” written on it.

2 Plug the SIREN into an Power Outlet.
3 Press the circular button 3 times, you will hear a beep from the SIREN and the SIREN’s LED ring lights up in red.


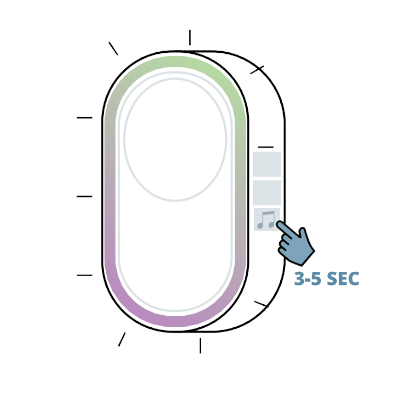
4 Then press the button with music icon on your GUARDIAN 2 GATEWAY and hold it down for 3-5 seconds until the GATEWAY starts to light up.
5 Then press the SOS button in your smart life app.
6 Success!