GUIDE: AUTOMATION
With Automation, you can automate actions on your camera. For example, you can have the camera record at certain times, or have all the cameras in your home record when a camera detects motion.
To create Automation, we first go under the category “Smart” and select the “Automation” tab.
EXAMPLE 1: MAKE A SCHEDULE FOR WHEN YOUR CAMERAS SHOULD RECORD
1 Under Automation, press the blue “+” in the upper right corner.

2 We must now set a “Condition”, i.e. the action that must activate a “Task” or action that must be performed.
3 Here we select “Schedule” and set a time. Whether the action should be repeated on different days can be selected under “Repeat”.


4 Press the blue cross on the "Then" part of the Schedule. Then select “Task”. Select “Run the device” and select your camera.


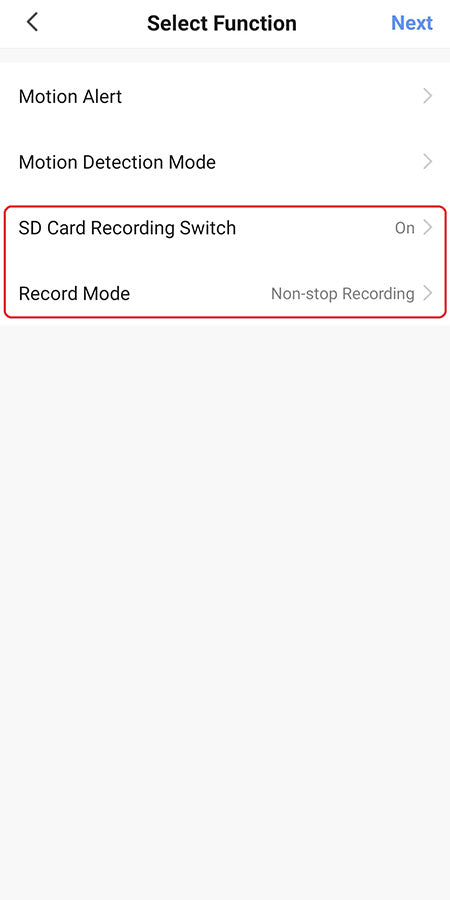
5+ 6 Select “SD Card Recording Switch” and press “On” and “Save”. Then select ”Record Mode” and click ”Non-stop Recording” and ”Save”. Then press “Next”.

7 Now you an overview of the automation we have created and can name the automation under “Name”. Now press “Save” and then “Yes”.

Now the camera will start recording at 8:30 AM on the selected days.
Remember to make an automation that turns off recording later in the day.
EXAMPLE 2: MAKE A CAMERA RECORD WHEN ANOTHER CAMERA REGISTERS MOTION (REQUIRES THAT THE CAMERAS ARE SET UP WITH MOTION RECORDING)
1 Under “Automation”, we press the blue “+” in the upper right corner.

2 We then select ”When device status changes”.

3 Select the camera that will activate the other one upon movement, in this case Camera 1.

4 And we press ”Motion Detected”.

5 Press the blue cross on the "Then" part of the Schedule. Now choose what the camera should activate when there is motion. In this case press ”Run the device.

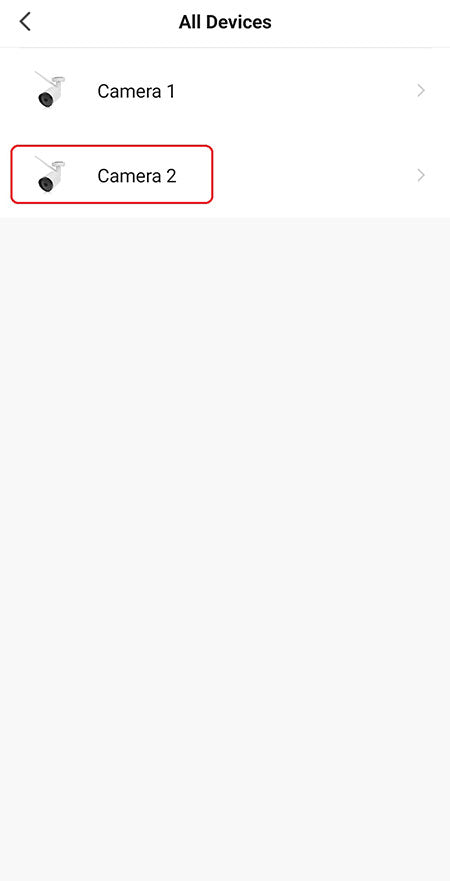
6 We select the second camera, Camera 2.
7 We press ”Record Mode” and select ”Non-stop Recording” and press next.

8 Under “Task”, we can press the blue “+” and select “Delay”.

9 Now we select how long we want the camera to record for when the other camera detects motion.
10 We press the blue “+” again under “Task” and press “run the device”.

11 We select the camera again. We press “Record Mode” and select "Event Recording", press “Save” and “Next”.

12 Now we can see the chain of actions. When Camera 1 detects motion, Camera 2 will start recording non-stop. It now records for 3 min (delay) and will then return to recording only upon motion.
13 We now press “Save” and “Yes” in order to start using automation.
